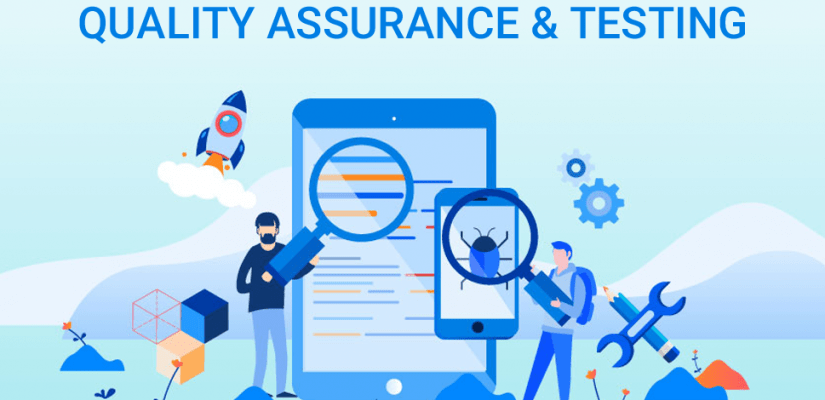
Testing your web application is critical to its success. But how do you know if it’s functioning properly? Selenium is a powerful tool that can help you test your application for errors and ensure that it meets your users’ needs. This blog post will show you how to use Selenium to test your web application. We’ll also discuss some of the benefits of Selenium testing and how it can help you improve your website’s usability. So don’t wait – read on to learn more about Selenium testing!
What is Selenium?
Selenium is a suite of tools that allow you to test your web application for errors and ensure that it meets your users’ needs. It works by automating tasks on your website – like clicking links or filling in fields on forms. You can then use these actions as automated tests to verify that the entire application is functioning properly.
Why Selenium?
Selenium is a powerful tool for testing your web application because it’s extremely flexible and very user-friendly. Since Selenium automates tasks on your website, you don’t have to manually click every link or fill out every form field when running tests. Instead, you can create “test scripts” in programming languages like Java, C# or Ruby that automate the process for you. This allows you to efficiently test your website’s functionality by having Selenium run tasks when certain events happen – like when a visitor clicks on a link.
Steps To Test Web Applications with Selenium
Step 1: Describe the browsers and devices you want to test for.
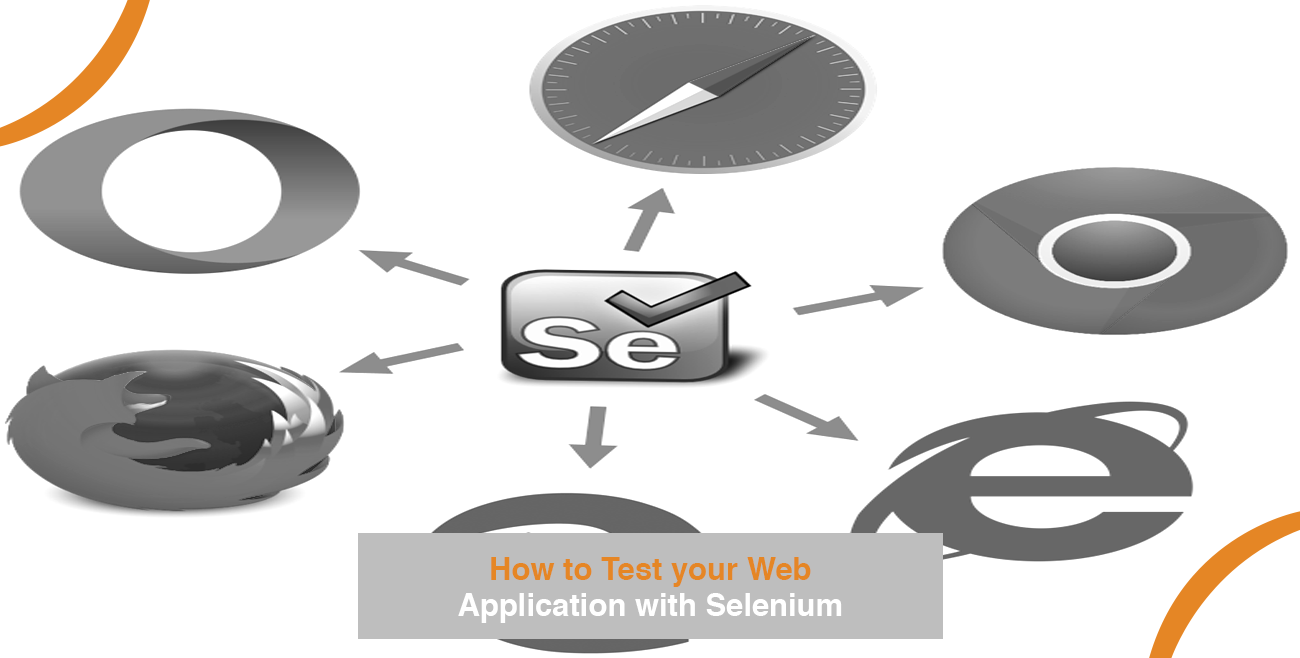
Selenium needs to know exactly what browser and device it should emulate when running tests. For example, if your application is designed for mobile devices, set Selenium to run on either Chrome or Safari on iOS – this will ensure that the application performs as intended on different devices.
Step 2: Configure your browser.
You’ll need to configure Selenium to work with the browsers you outlined in Step 1 above. To do this, download and install either Google Chrome or Apple Safari for Windows (under the “Prerequisites” tab) – these are both free browser extensions that allow Selenium to run your tests.
Step 3: Set up your test environment.
After configuring Selenium to run on Safari or Chrome, download and install the free IDE – WebDriver (under the “Prerequisites” tab). This will allow you to write tests using various programming languages and easily execute them through Selenium.
Step 4: Code your test scripts.
Most Selenium tests involve automating tasks on your web application. For example, if you want to test what happens when a user clicks on a “login” link, create a script that does the following:
– Click(“Login”).
This will tell Selenium to click on this specific element (in our case, it’s the login link) on your website. You can find more information (including code samples) for programming languages like Java, C# and Ruby by checking out the Selenium documentation.
Step 5: Run your tests.
Now that you’ve written a test script open the WebDriver interface and press the “play” button to run your test. You can also save this test as a .JUnit file to run as often as you want – JUnit is a popular Selenium testing framework..
Step 6: Repeat steps 3-5.
After running your first test, you’ll probably want to perform these same steps for other features on your website. To do this, repeat steps 3-5 for each feature you want to test, and Selenium will automatically run the test when it detects that a user has interacted with that element. You can even automate your tests so that they run at specific times – for example. You might schedule nightly tests to ensure your application runs smoothly after you make changes.
Step 7: Run tests across different devices.
Web applications are not only designed to run on standard desktop browsers anymore – they’re meant to be used on a variety of devices, including tablets and smartphones. Selenium allows you to test your application’s compatibility with these devices by automating tasks across multiple browsers/operating systems – all without having to interact with each one manually.
Is Selenium Right For Me?
Selenium is a powerful tool that allows you to test your web application’s functionality, but it isn’t right for everyone. If you already have a set of tests and test scripts that work, then there’s no reason to change. However, if you’re starting from scratch or don’t already have defined tests, Selenium is a strong choice since it allows your team to easily automate tasks on your website and run them as part of automated tests.
Final Thoughts
We’ve talked about the basics of Selenium, how to set it up for use with your web application, and some best practices. Now that you have a basic understanding of what Selenium is and why it can be beneficial to test your website or web app for bugs before releasing them into production, let’s talk about where you should go from here. If you want help setting up continuous integration with HikeQA using our CI toolkit PIPE (Pipeline as Code), feel free to reach out to us out, and we’ll be happy to help.